Building a robotic arm is one of the most rewarding projects for STEM learners, hobbyists, and engineers. This guide will walk you through the essentials of designing, assembling, and programming a functional robotic arm that can be used for educational demonstrations or prototyping.
Design & Components
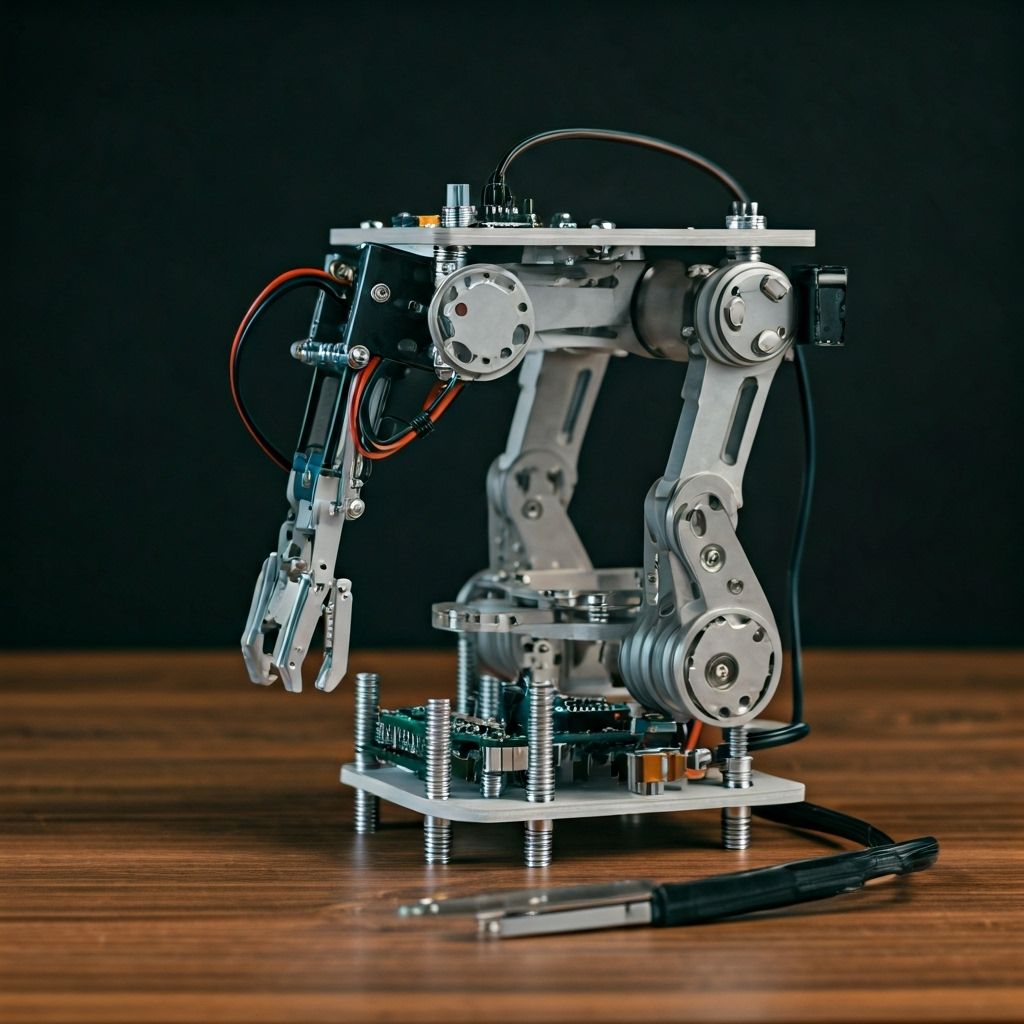
- Base & Frame: Provides stability and houses the main joints.
- Servo Motors: Enable controlled movements for each axis.
- Microcontroller (Arduino/Raspberry Pi): Acts as the brain of the robotic arm.
- End Effector (Gripper/Tool): The functional part of the arm that interacts with objects.
Careful selection of materials and components ensures durability and smoother performance during operation.
Step-by-Step Assembly
- Assemble the base and mount the servo motors.
- Attach the arm segments and connect joints with screws.
- Install the gripper or chosen end effector.
- Wire the servo motors to the microcontroller.
- Test each axis individually before full integration.
Ensure all connections are tight and wiring is properly insulated to avoid short circuits.
Programming the Arm
Once assembled, the robotic arm can be controlled through Arduino IDE or Python, depending on the chosen microcontroller. Basic movements can be programmed using servo angle adjustments, while advanced tasks may involve inverse kinematics for precision control.
You can also integrate sensors (like potentiometers or cameras) for feedback and automation, turning your robotic arm into a smart manipulator.
Conclusion
Building your first robotic arm teaches valuable skills in mechanical design, electronics, and programming. With this foundation, you can expand into more advanced robotics projects, including automation, AI-powered control, and industrial-grade manipulators.